Skip to content

Generate high-impact minimalist selective-focus posters that center visual attention on a single small red detail

Selective Red Window Cinematic Poster Generation Workflow

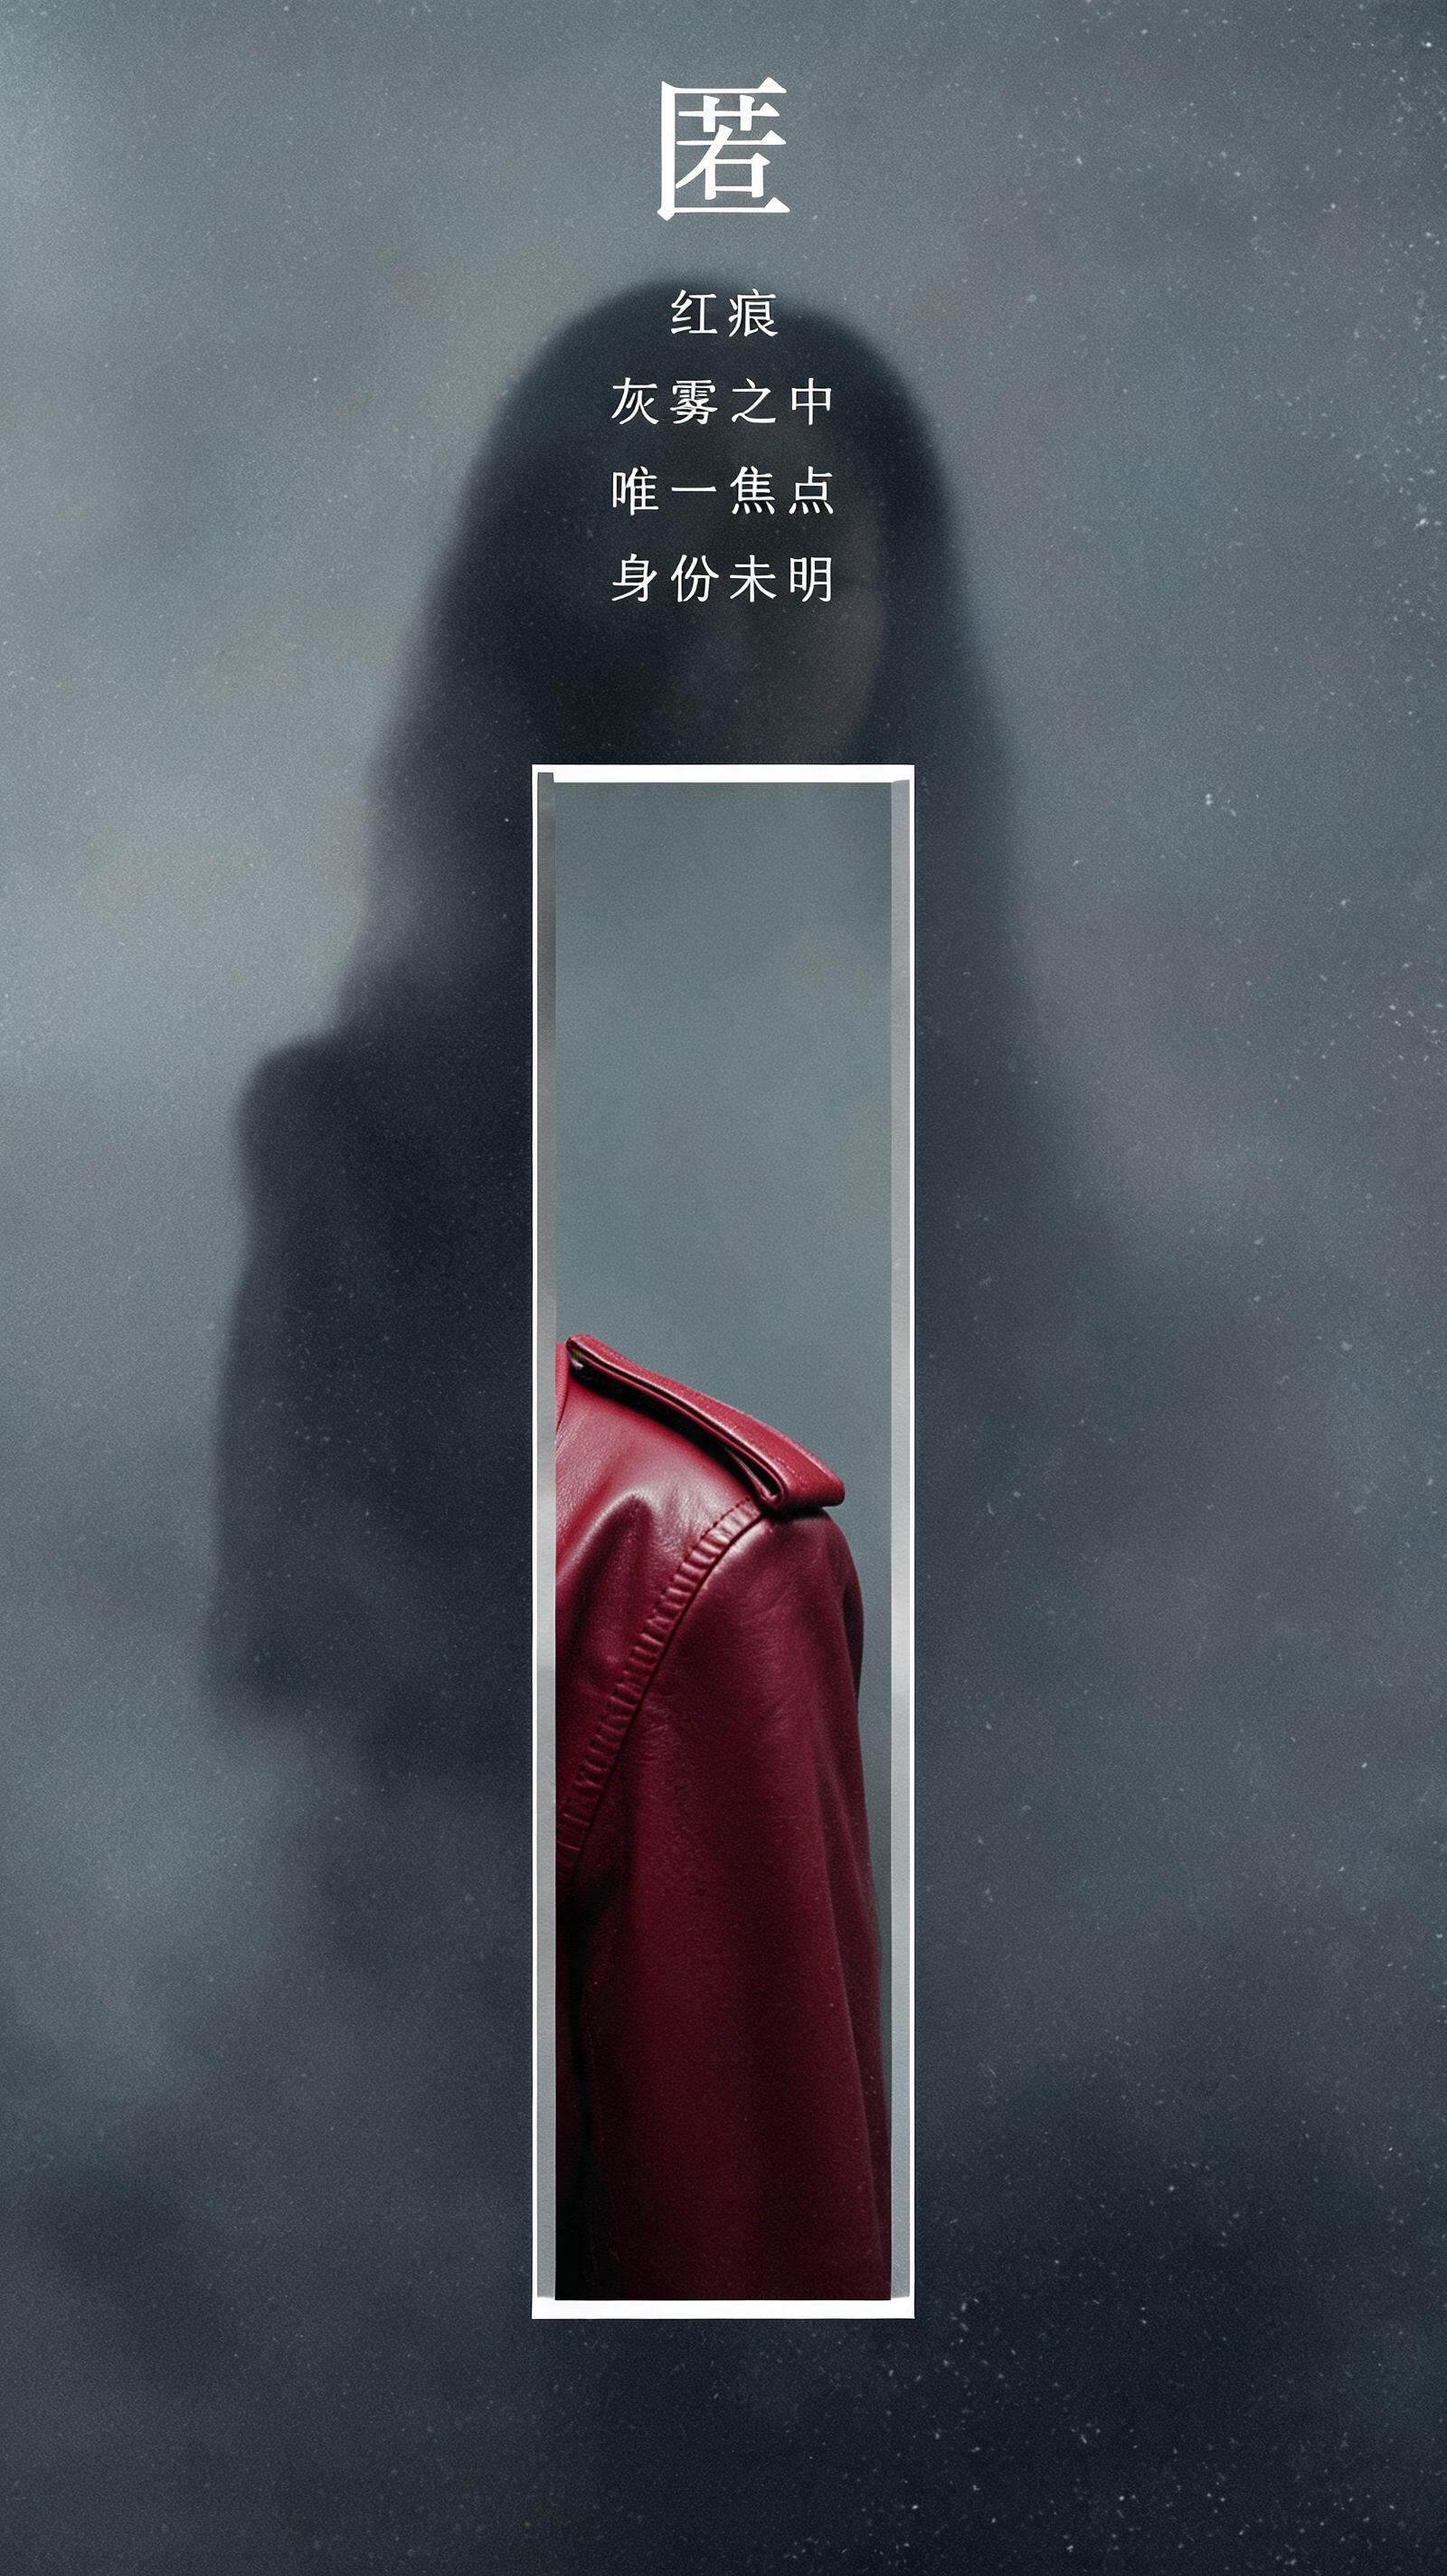
This workflow produces 2K vertical cinematic identity posters that hide most of a subject in muted blurred grayscale, with a single narrow vertical clear window highlighting one saturated red detail.

Asset
2K vertical cinematic identity poster exploration draft
Format
Model default · 2K
Model
Doubao Seedream 5.0 Lite

8 credits per image

Your references, identity direction, and approved creative context stay reusable inside the Project.

Sample generatedGenerated with · Doubao Seedream 5.0 LiteUpdated · Jul 29, 2026
Selective Red Window Cinematic Poster Generation Workflow generated example 1
2K · Model default
OUTPUT 01 / 02

REVIEW REQUIRED
Restricted Sharp Focus Boundary · Accent Color Isolation

Generated output

Inspect the result before you put it to work.

Check the main subject, framing, material detail, and channel requirements at full size before handoff.

Selective Red Window Cinematic Poster Generation Workflow generated example 1
Generated result · inspect at full size before handoff

What this recipe creates

A repeatable 2k vertical cinematic identity poster exploration draft workflow.

A targeted visual style that restricts sharp focus to a small vertical strip of red content against a soft, grainy muted gray-black background, ideal for fashion, film, and editorial cover use. All outputs are exploration drafts that require minor post-processing for final deployment.

  • 2K vertical selective focus poster draft
  • Muted grayscale base with single sharp red detail strip
  • Light film grain overlay
  • Clean minimal editorial layout with thin line accents
Vertical fashion character postersCinematic movie identity key artMagazine concept covers

Required inputs

  1. Core subject reference (fashion model, film character, product)
  2. Specified red detail element (lip, jacket, shoulder, product part)
  3. Desired text copy for title and short supporting lines
  4. 9:16 aspect ratio setting

How it works

Review the workflow before you create.

4

Use each step as a review gate. If one gate fails, change that input before spending another generation.

01 / STEP

Generate Base Blurred Grayscale Subject Layer

Set your canvas to 9:16 aspect ratio, input your core subject description with instructions to render 90% of the figure out of focus, add subtle film grain, and restrict the full palette to dark gray, black, and foggy off-white.

Quality check · No sharp facial or full-body details are visible, no saturated non-grayscale colors appear anywhere on the base canvas
02 / STEP

Add Narrow Vertical Clear Red Detail Window

Specify the exact position of the 10-15% width vertical clear strip, name the specific red detail that will appear inside that strip, and instruct the model to keep all content outside the strip fully blurred.

Quality check · Only the small vertical strip contains sharp detail, all content inside the strip is a deep saturated red, no sharp content leaks outside the window boundary
03 / STEP

Add Minimal Editorial Layout Elements

Input your short main title and 3 to 5 one-line supporting text snippets, specify thin light gray line dividers and large negative white space around the subject area.

Quality check · Text is unobscured by the subject, no overcrowding of layout elements, all lines of text are short and aligned to a single clean grid
04 / STEP

Refine Grain and Color Balance

Adjust the color grading prompt to push all non-red areas to desaturated cool grays, add a low intensity film grain overlay across the full frame.

Quality check · The red detail in the window is the only high-saturation element in the full frame, grain intensity is subtle enough that it does not obscure the sharp red detail

Recommended model and tested settings

Tested setup and quality gates.

Model
Doubao Seedream 5.0 Lite · doubao-seedream-5-0-lite-260128
Style
All outputs are 2K exploration drafts, no production-ready assets are generated directly from the model. Post-processing in a separate graphic editor is recommended for final use.
Resolution
2K
Guidance
This workflow is optimized for the listed model version, it may produce inconsistent results on other image generation models.
Tested
Jul 29, 2026

Quality checklist

Restricted Sharp Focus BoundaryNo sharp detail appears outside the defined narrow vertical window, 90% of the subject and background remains fully blurred
Accent Color IsolationThe only high-saturation color in the full frame is the red detail inside the clear window, all other areas stay within the muted dark gray, black, and fog white palette
Minimal Layout DensityNo more than 6 total text elements appear on the canvas, at least 40% of the frame is empty negative white space
Subtle Film GrainGrain intensity is low enough that it does not create visual noise that distracts from the central red detail
2K Resolution ComplianceFinal exported output meets the verified 2K size specification with no stretched or distorted edges

Common failure modes

Know what to correct before the next run.

FAILURE / 01

Sharp facial details appear outside the vertical window

Add an explicit line to the start of the prompt that reads 'all parts of the subject outside the 12% width vertical clear strip are 100% blurred, no facial features are visible'

FAILURE / 02

Red color bleeds across large areas of the frame outside the window

Restate the red detail as a single small localized element (e.g. 'only the edge of the red leather collar is red, no other parts of the jacket have red pigment')

FAILURE / 03

Generated text is misspelled or has false orthography

Remove all text generation instructions from the prompt, add all text manually in a post-processing graphic editor

FAILURE / 04

The vertical clear window is wider than 20% of the frame

Add a hard width limit of '10% to 15% of total frame width' to the prompt description of the clear window

FAQ

Production notes.

Minor drift may occur across generation runs. If the red detail spreads outside the window, re-run the prompt with explicit instructions to blur all red content that falls outside the specified vertical strip.

Yes, replace all references to deep red in the prompt with your chosen brand color. The same selective focus logic will work for any single high-saturation accent against a muted grayscale background.

All initial generated outputs are exploration drafts. You will need to retouch text, fix minor anatomy drift, and adjust color values in a separate editing tool before sending files to print.

Generated text from the model is often unreliable. Delete any auto-generated text and replace it with your own typed text in a graphic editor for full readability.